Eyebrows are one of the most defining features of your face and can greatly influence your overall appearance. Mastering the technique of using an eyebrow pencil can enhance your natural beauty, providing that perfect finishing touch. Many beauty enthusiasts swear by eyebrow pencils for their versatility, allowing one to create anything from bold, dramatic looks to soft, natural finishes. But with so many options available and techniques to consider, it can be overwhelming for beginners to navigate this world. This guide will empower you with comprehensive insights and practical techniques to draw in your brows like a pro. By the end, you will feel confident and equipped to achieve any brow style that suits your personality and aesthetic.
Choosing the Right Eyebrow Pencil

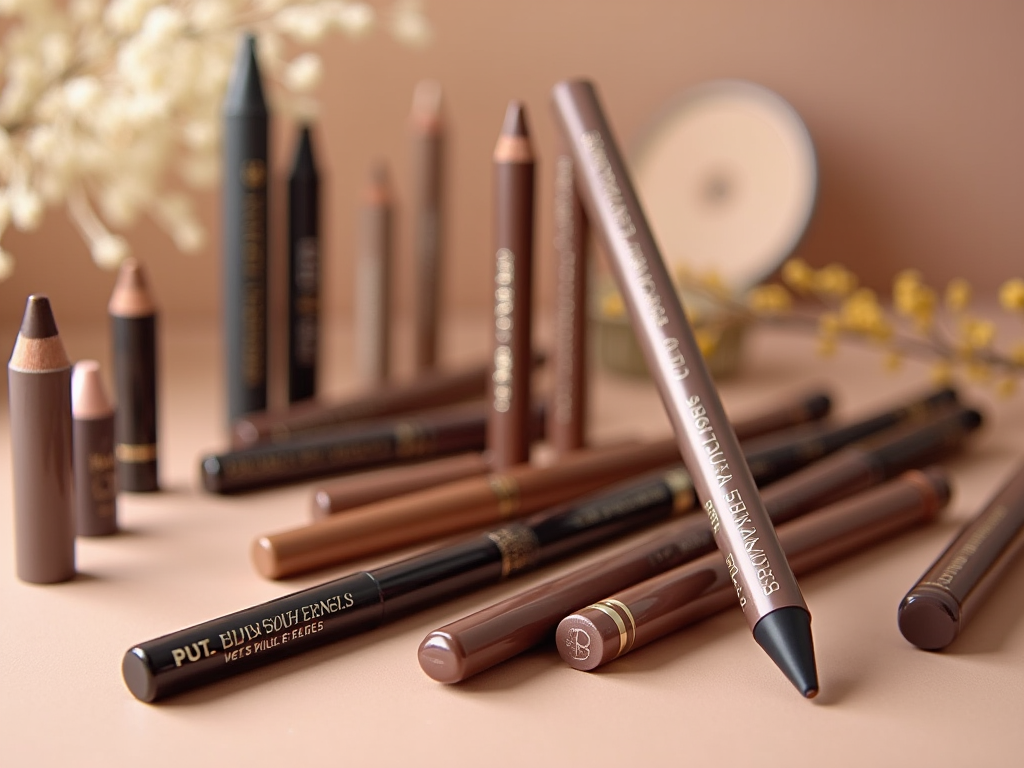
Before diving into application techniques, it’s vital to choose the right eyebrow pencil. The choice can make or break your brow game, so take your time in selecting a product that meets your desires and complements your features. Here are some essential factors to consider:
- Shade: Opt for a shade that closely matches your hair color. If you’re looking for a softer, more natural look, consider going just a notch lighter.
- Formula: Eyebrow pencils come in various formulas, such as wax-based and traditional. Each has its advantages, with wax-based often providing a more natural finish.
- Tip Shape: Choose between a sharp, fine tip for precision or a thicker tip for filling in larger areas quickly.
Preparing Your Brows

A well-prepped canvas is key to flawless application. Ensure that your brow area is clean and free from any residue that may hinder the pencil from adhering properly. Begin by cleansing to remove any makeup remnants or oils. Next, take a spoolie brush and gently comb through your brows to position the hairs in the direction you want them to lay. This not only gives you a clearer view of where to fill but also helps you visualize the shape you want to create. It may seem like a small step, but preparing your brows effectively can significantly influence the end result, setting a solid foundation for the rest of your application.
Mapping Out Your Brow Shape
Creating the right shape for your brows is crucial, as it frames your face beautifully. To map out your ideal shape, follow these steps:
- Identify Key Points: Use a pencil to mark where your brow should begin, where the arch should rise, and where it should taper off.
- Draw Guidelines: Lightly sketch the outline of your brows using your eyebrow pencil, making any necessary adjustments before filling in.
Mapping provides you with a clear roadmap, minimizing the risk of making mistakes during application. Remember, measuring is vital; for instance, many experts suggest that the starting point should align with your nostril for a balanced appearance.
| Key Points | Description |
|---|---|
| Start | The point directly above the nostril. |
| Arch | The highest point should be above the outer edge of your iris. |
| End | Aligns with the outer edge of your nostril and extends toward your temple. |
Application Techniques
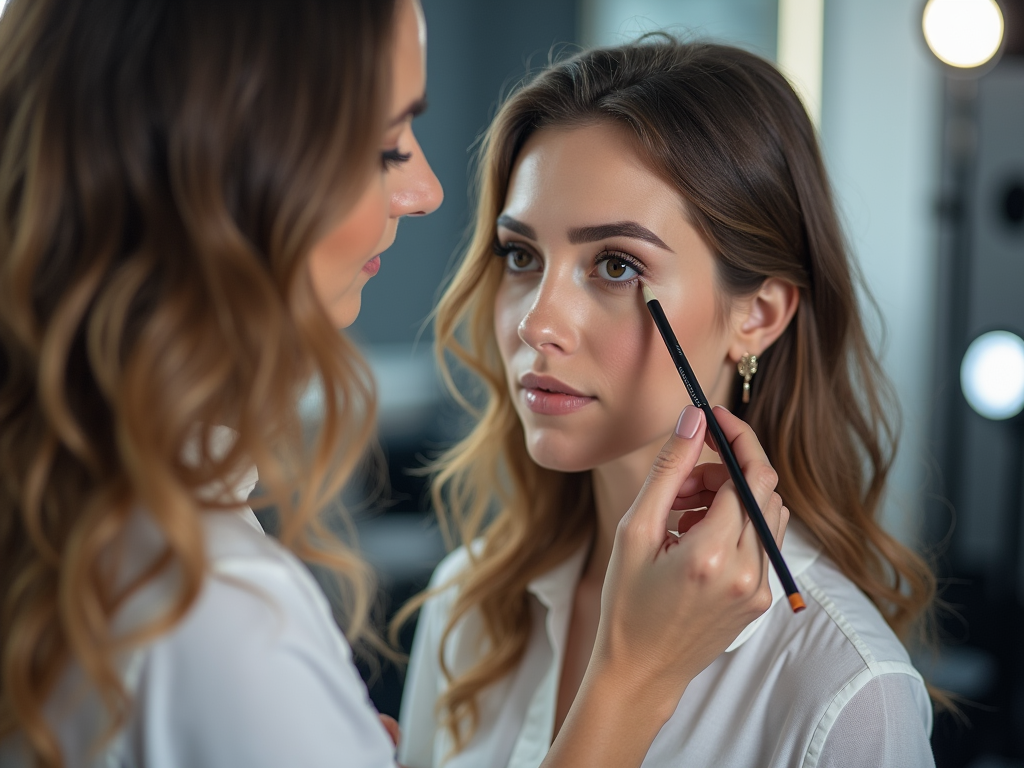
Now that you have mapped your shape, it’s time to start applying your eyebrow pencil. To achieve a natural appearance, alignment and consistency are key. Here are some effective techniques to consider:
- Use Short Strokes: Instead of coloring in your brows like filling in a coloring book, use short, feather-like motions that mimic the natural growth of your brow hairs.
- Build Gradually: Start with light pressure to establish a base and gradually build your desired intensity. It’s easier to add than to remove, so be patient.
To avoid harsh lines and achieve that professional look, blending is key. After applying the pencil, take a spoolie and gently brush through your brows. This diffuses any bold marks and helps soften the overall look. By blending well, you not only make your brows look more natural but also create a seamless transition between your skin and the pencil color. To complete the look and ensure longevity, consider finishing with a clear brow gel. This will keep every hair in place and ensure your brows look impeccable all day long.
Conclusion
Using an eyebrow pencil effectively to draw in your brows is a skill that can be developed over time with practice and the right techniques. From choosing the appropriate product to understanding application and blending techniques, each step is integral to achieving a flawless finish. The key is to remain patient and experiment with different styles until you find what works best for you. With this guide at your fingertips, you’re ready to transform your brows into show-stopping features that enhance your overall beauty.
Frequently Asked Questions
- How do I know which color eyebrow pencil to choose? Select a color that closely matches your natural hair color or one shade lighter for a softer look.
- Can I use eyebrow pencil on sparse brows? Yes! Eyebrow pencil is ideal for filling in sparse areas while providing definition.
- How do I create a natural look with eyebrow pencil? Use short, feathery strokes, and blend with a spoolie for a more realistic appearance.
- Should I apply other products before or after the eyebrow pencil? It’s best to apply the eyebrow pencil after your foundation and concealer.
- How often should I sharpen my eyebrow pencil? Sharpen your pencil regularly to maintain a fine tip that allows for precise application.


